Get Started
Get Started
Contact us
Contact Us
info@jdlci.com
(617) 619-5320
Court Types
Pickleball
Fast-growing, low-impact, and seriously addictive.
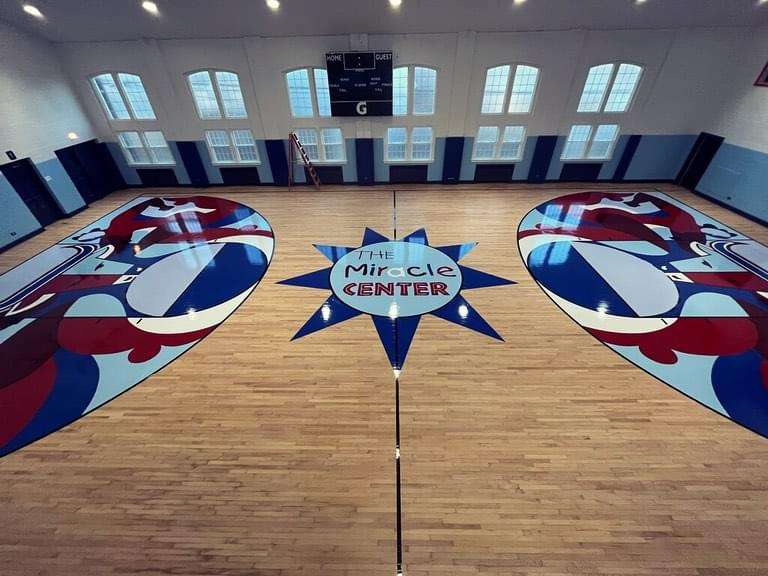
Basketball
Built for game-winners and buzzer-beaters.
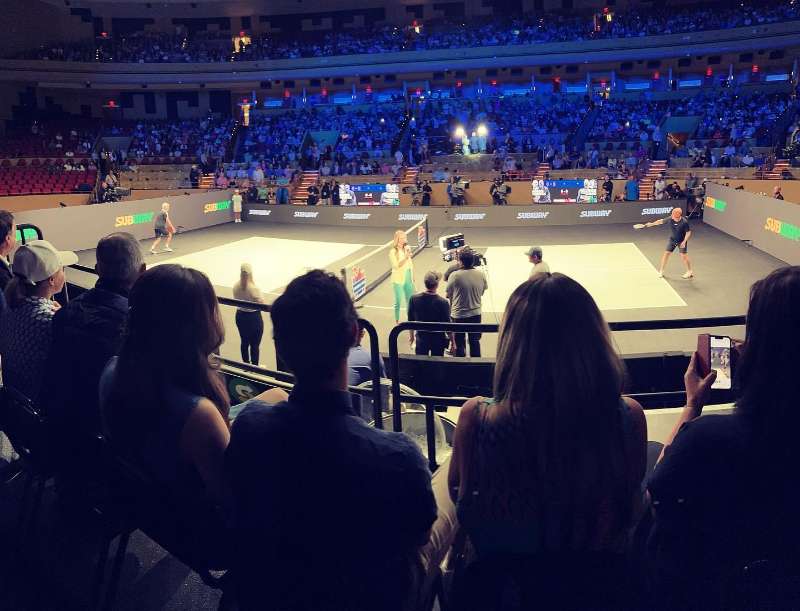
Padel
The court your racquet sport dreams about.
Tennis
Classic. Timeless. Ready for rally season.
Multisport
One court. Endless possibilities.
Other
Custom builds for anything you can imagine.
Follow us:
Home
about
court types
our work
services
contact
schedule free quote
Our Work
.
All
Commercial
Residential
Indoor
Outdoor
Pickleball
Basketball
Padel
Tennis
Multisport
Soccer
Other
Reset
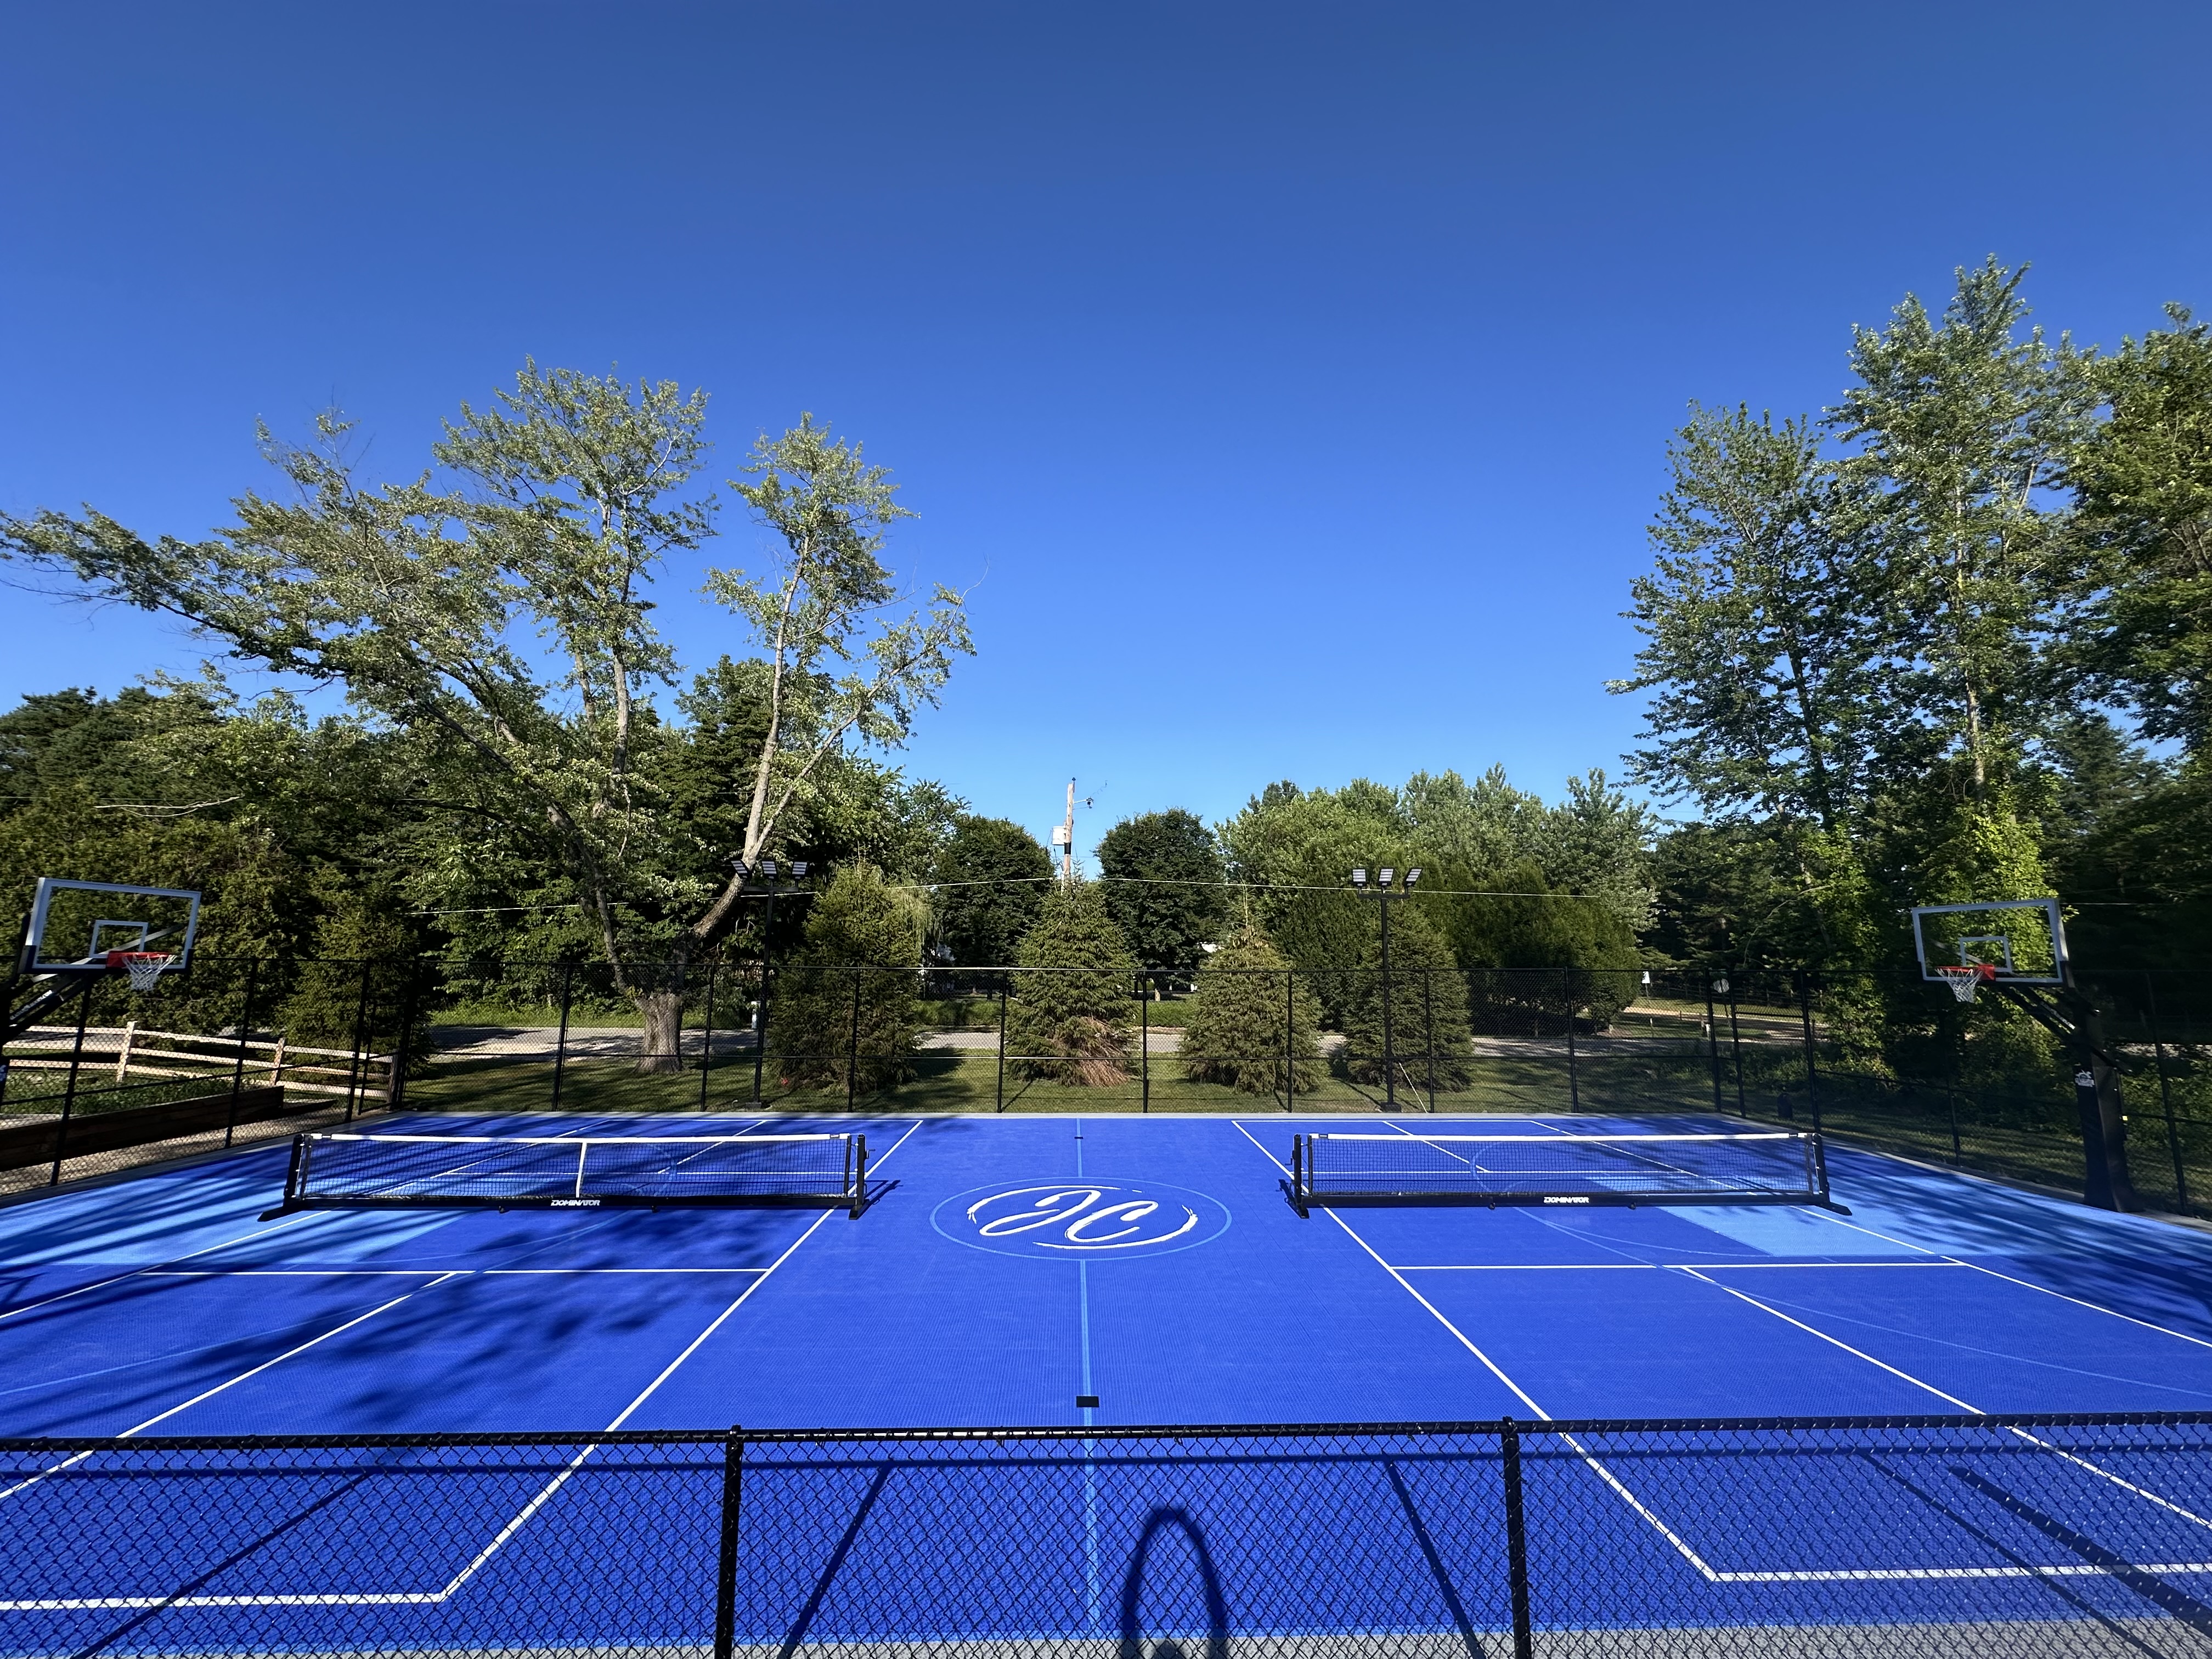
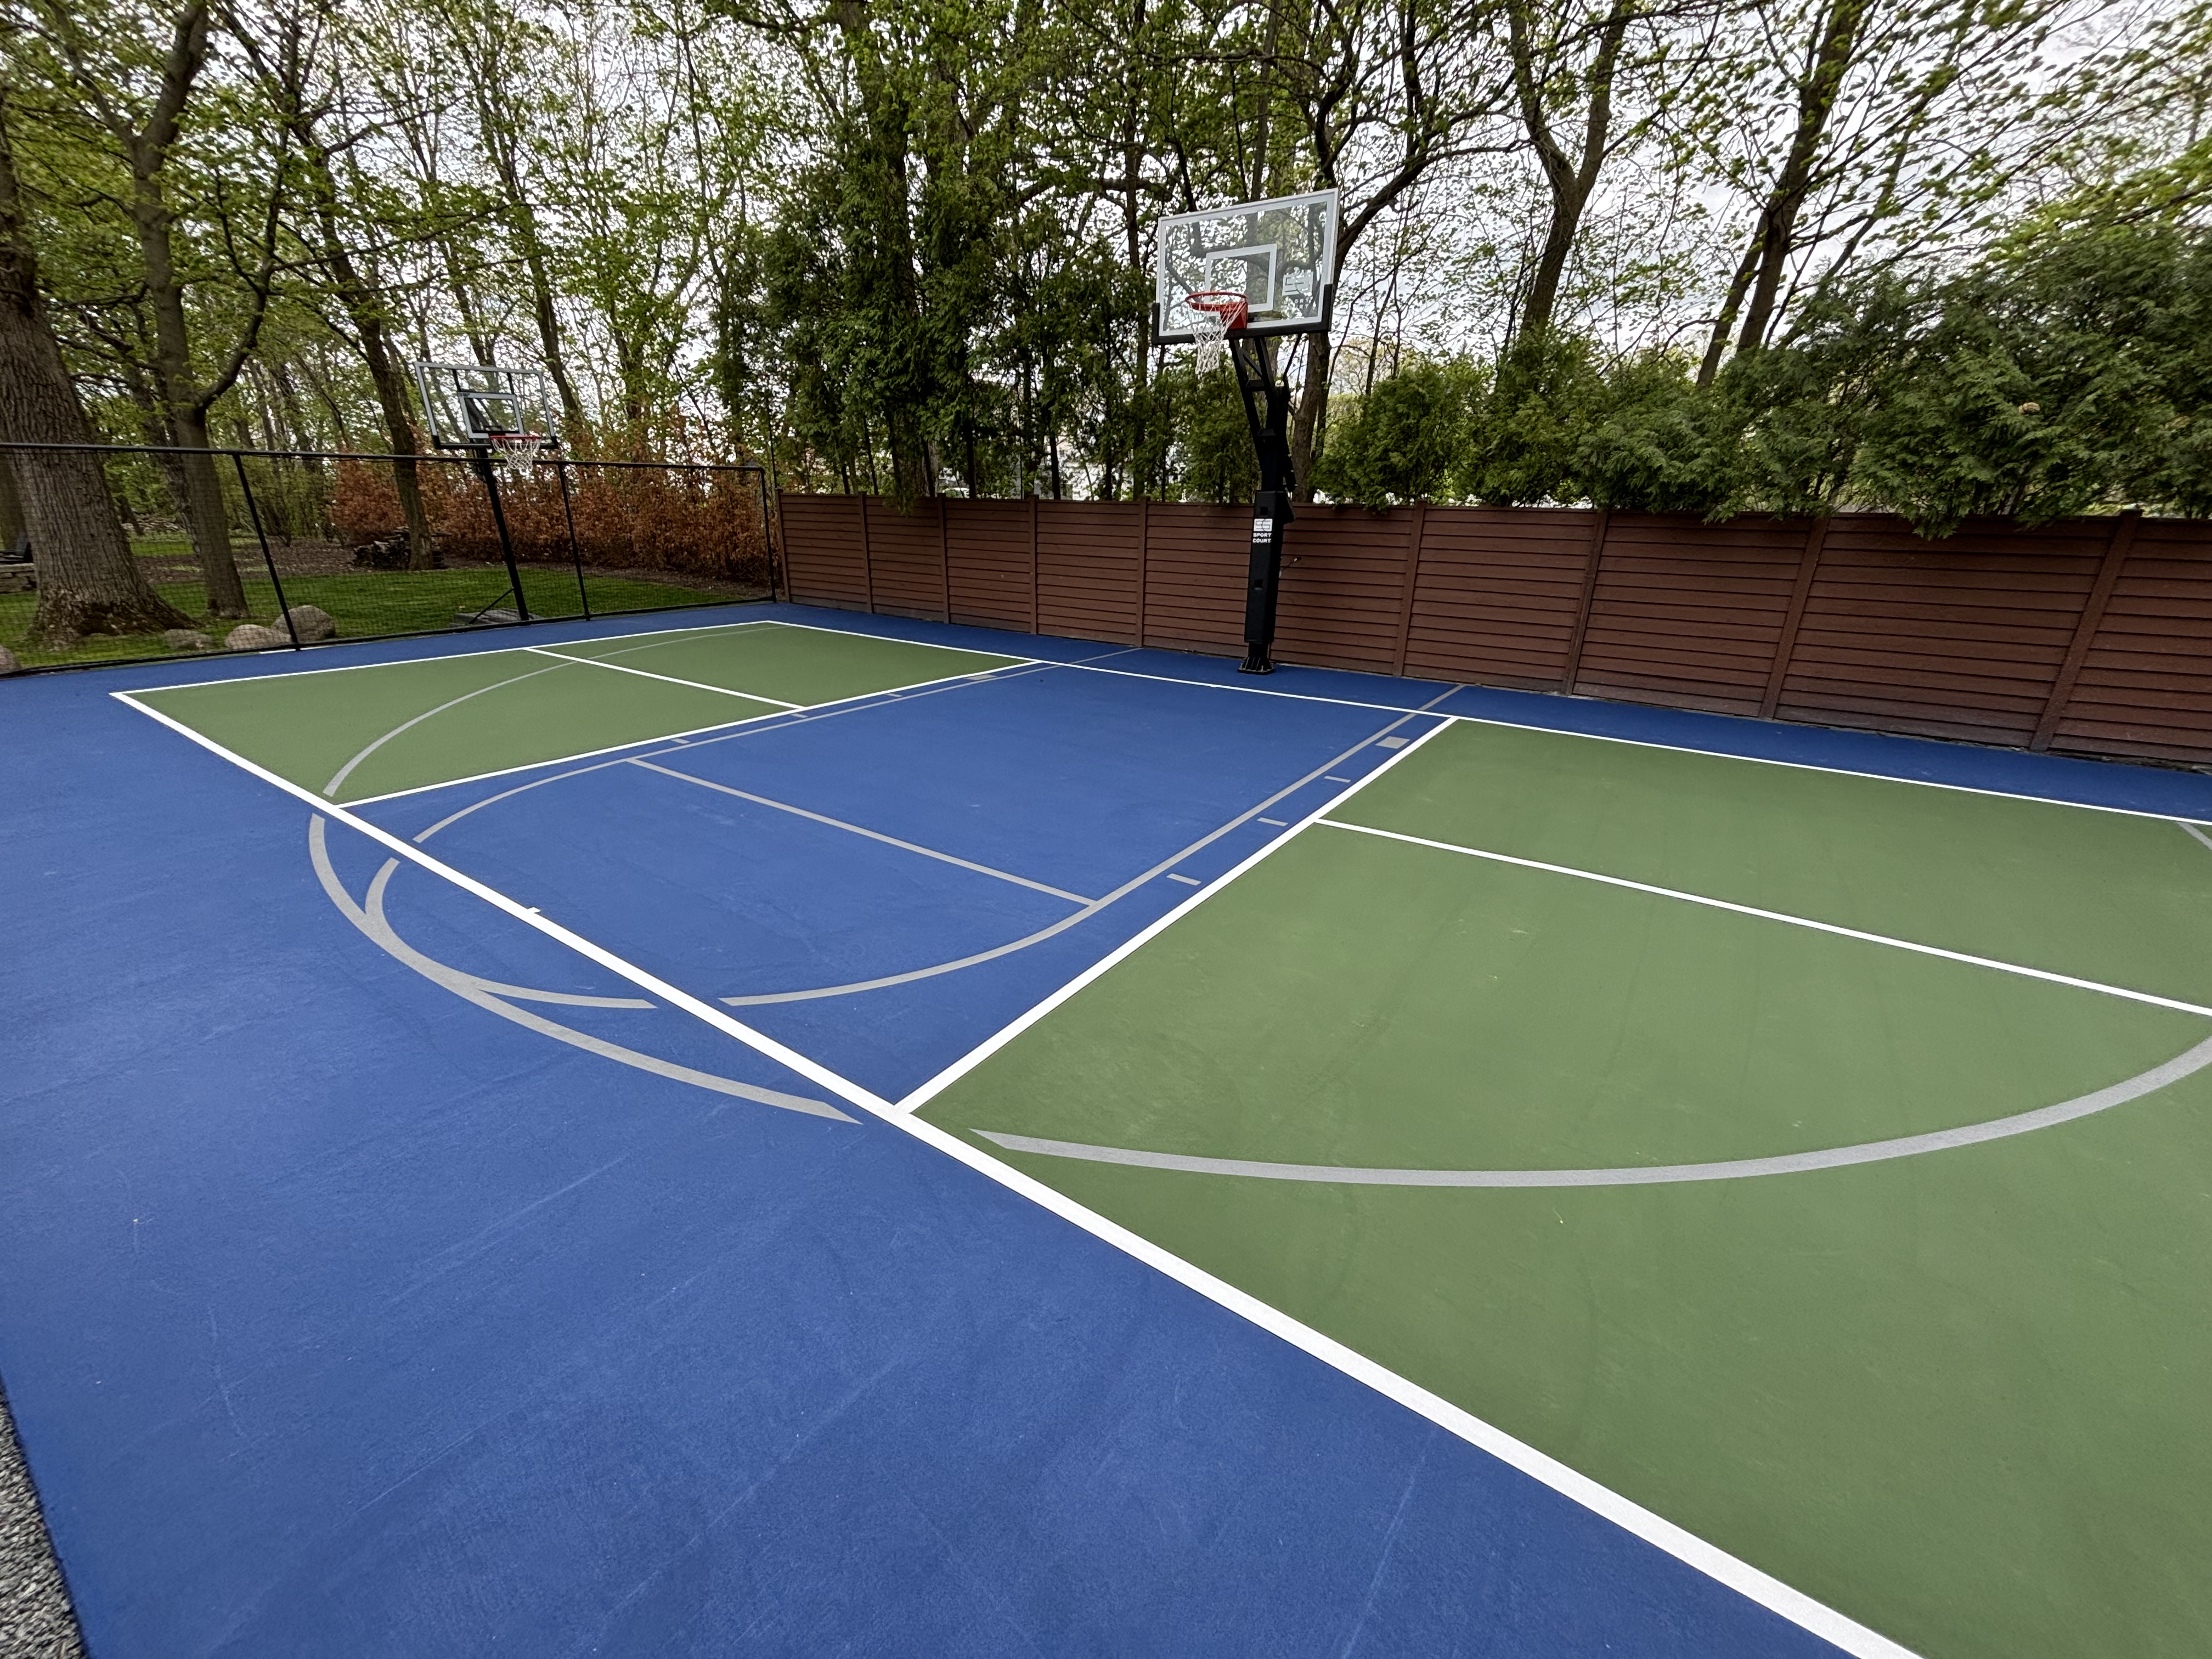
residential
basketball
outdoor
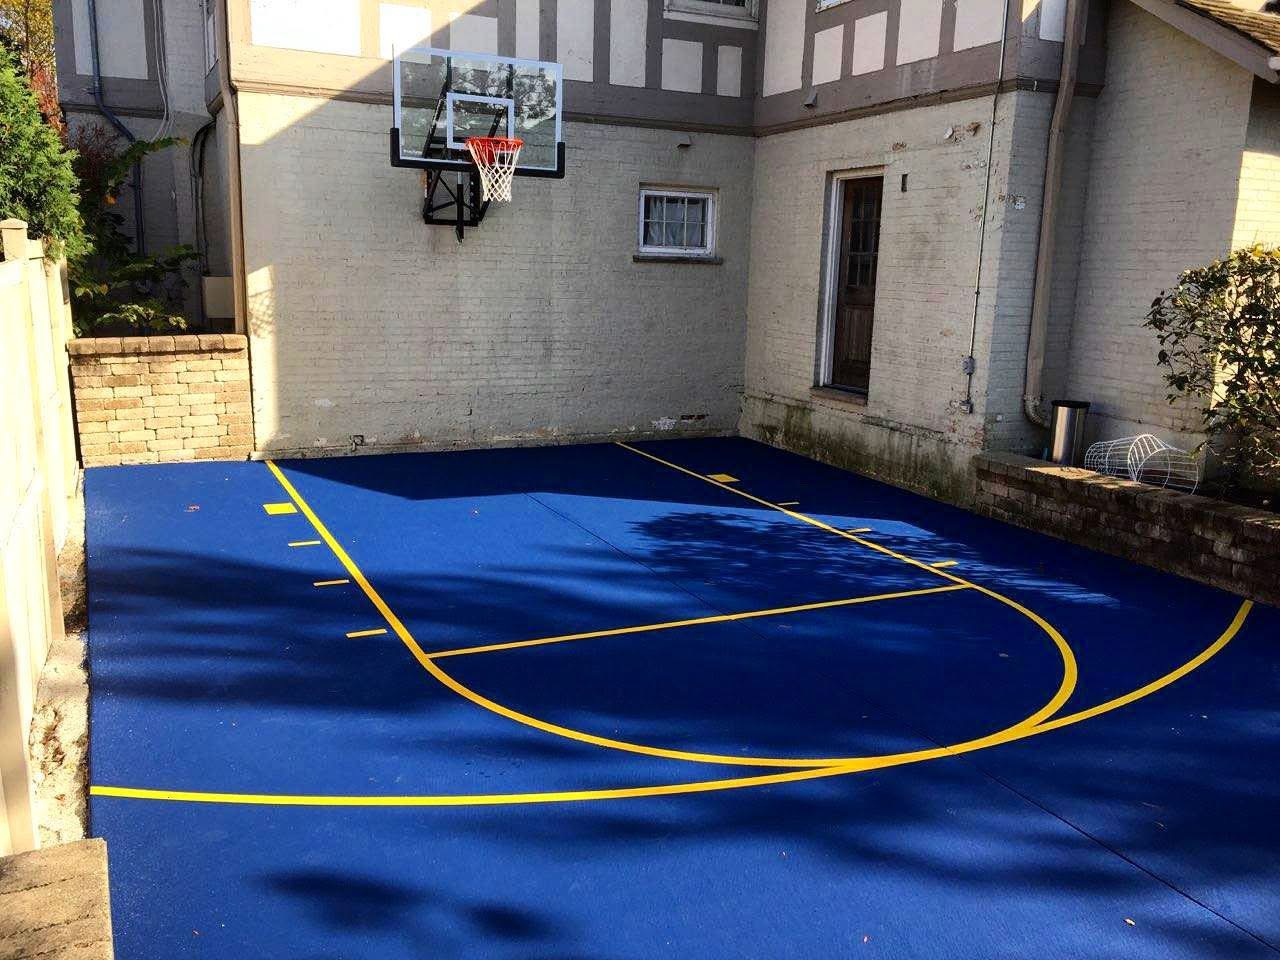
residential
pickleball
outdoor
residential
basketball
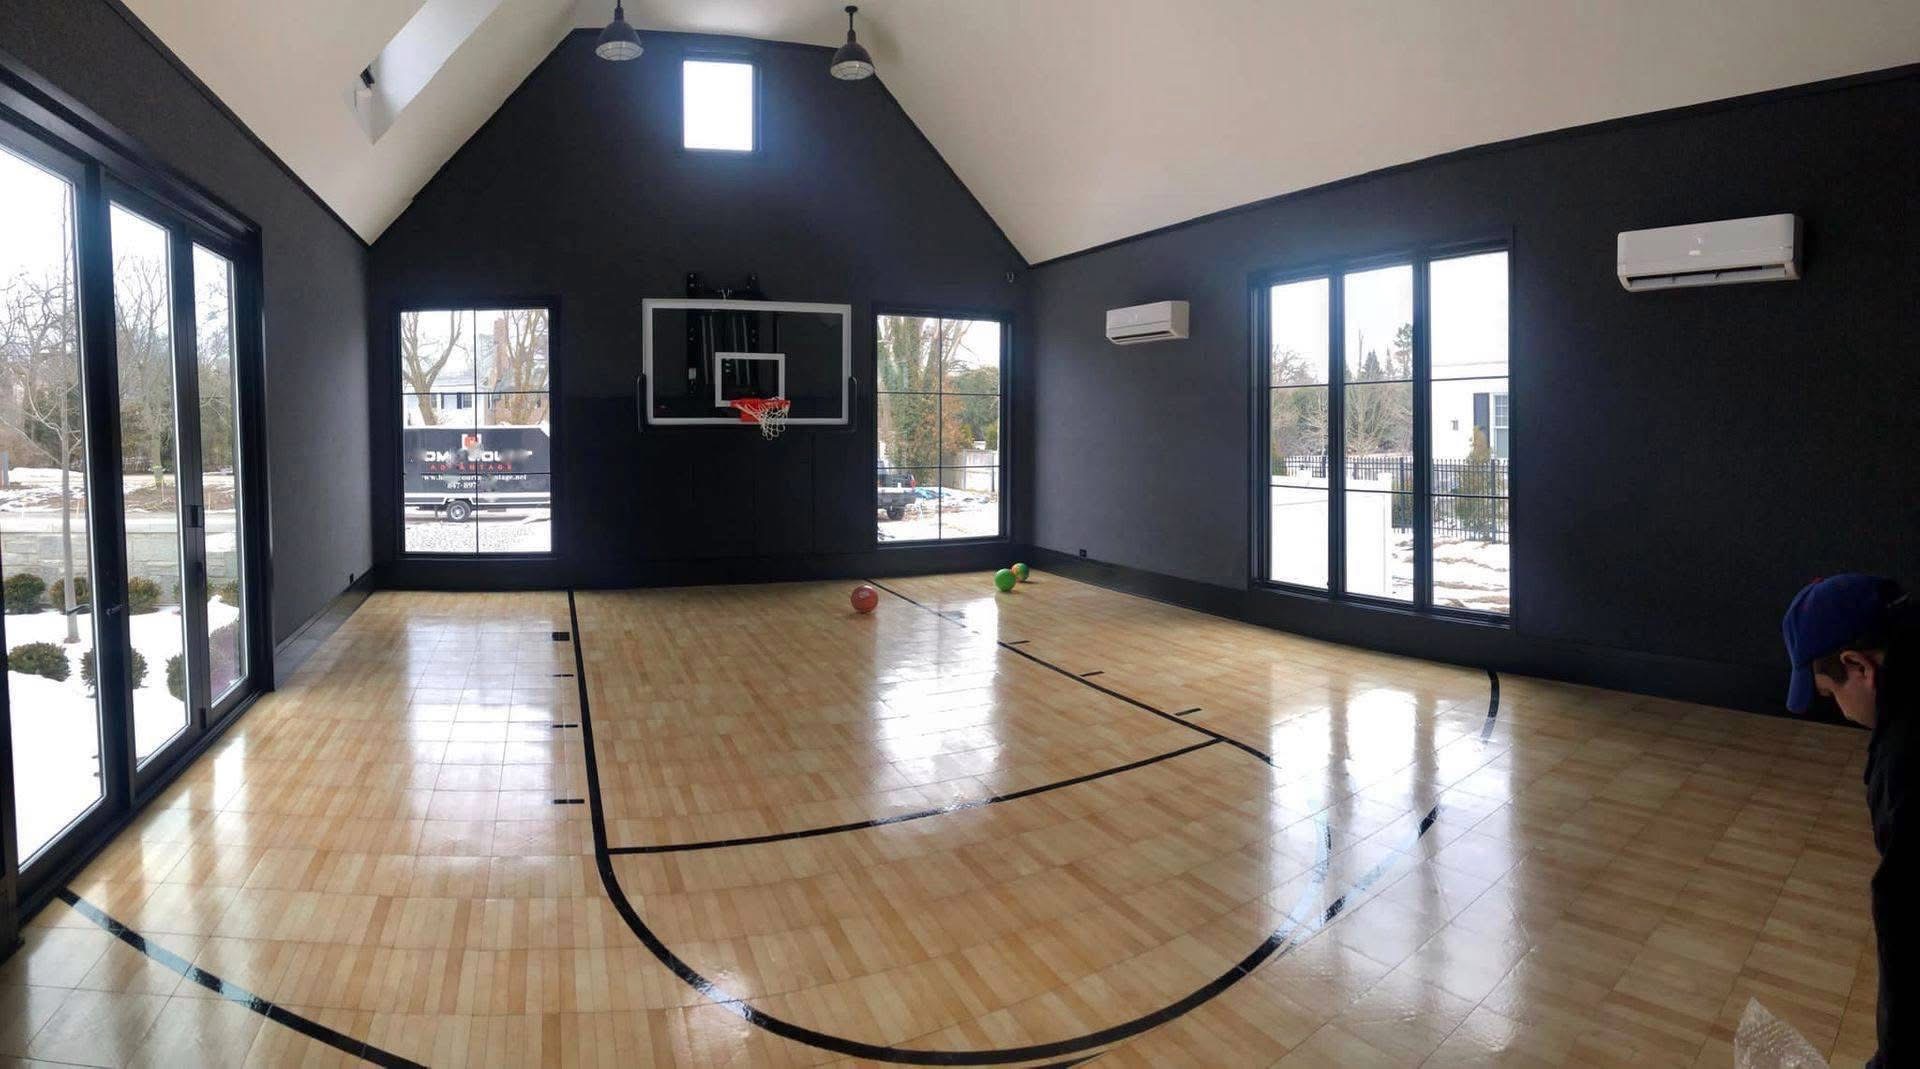
indoor
residential
outdoor
multisport
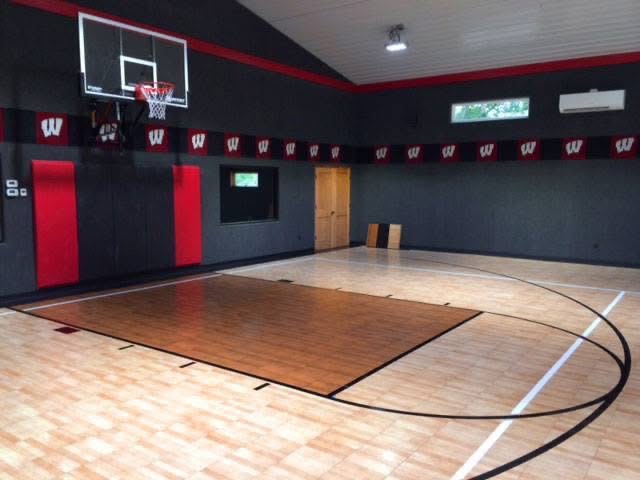
residential
basketball
indoor
residential
basketball
indoor
residential
outdoor
other
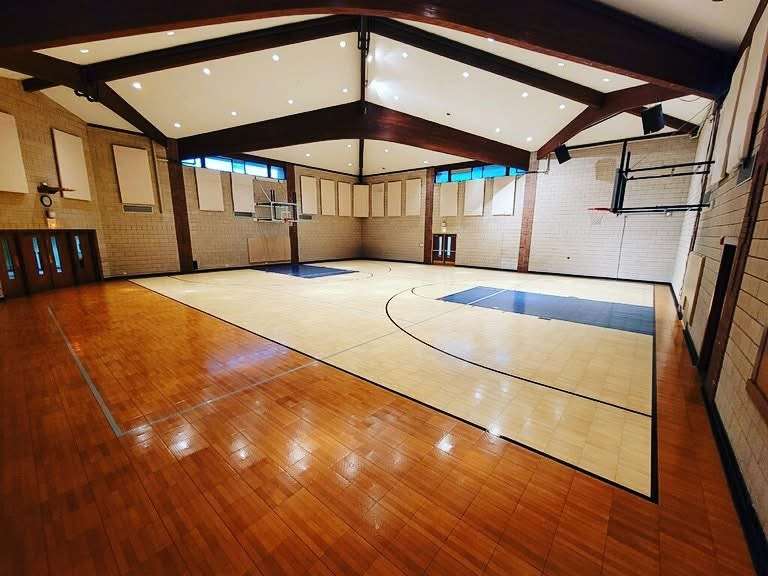
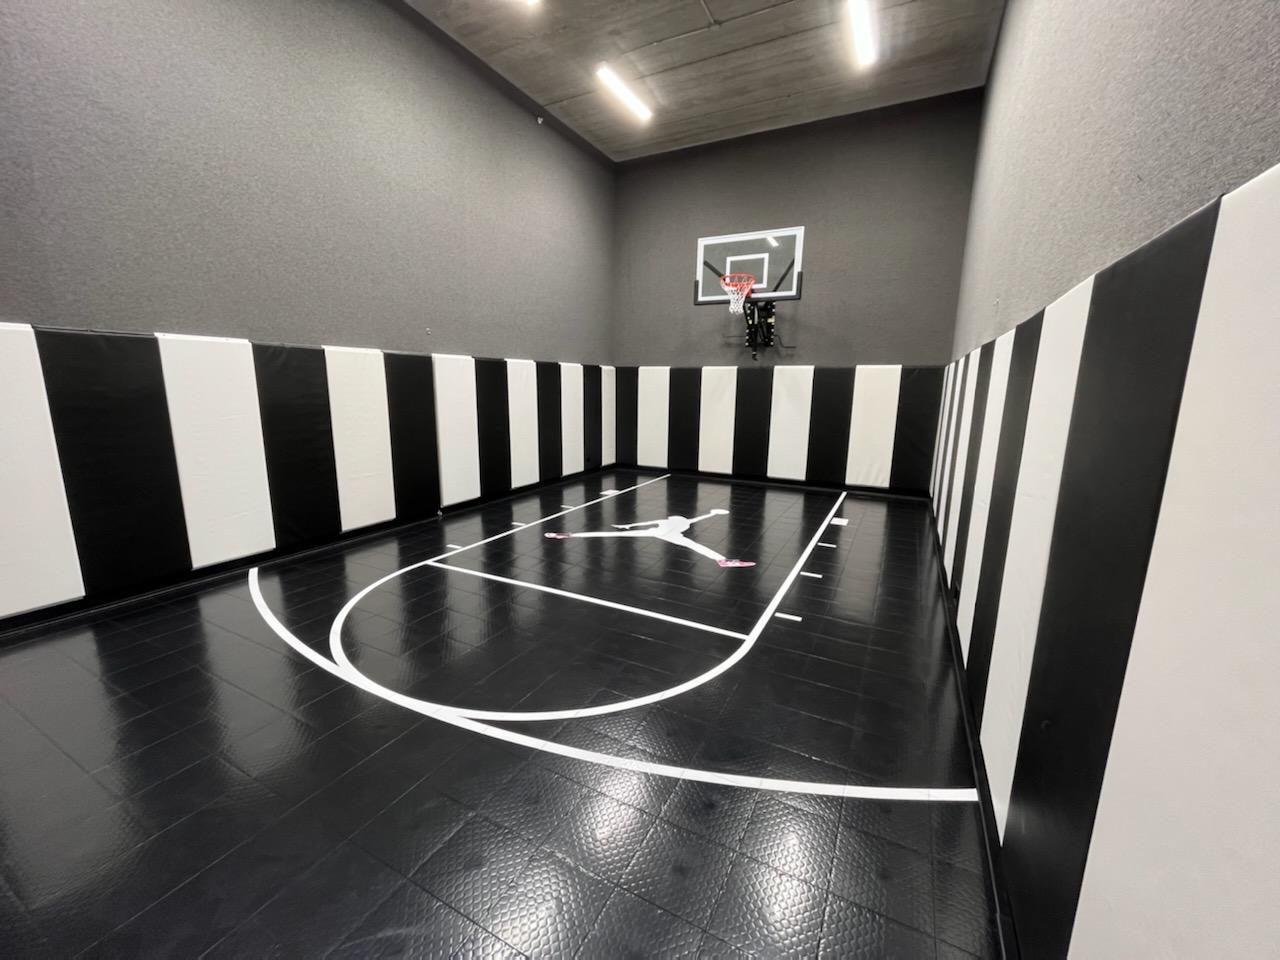
residential
basketball
indoor
residential
basketball
outdoor
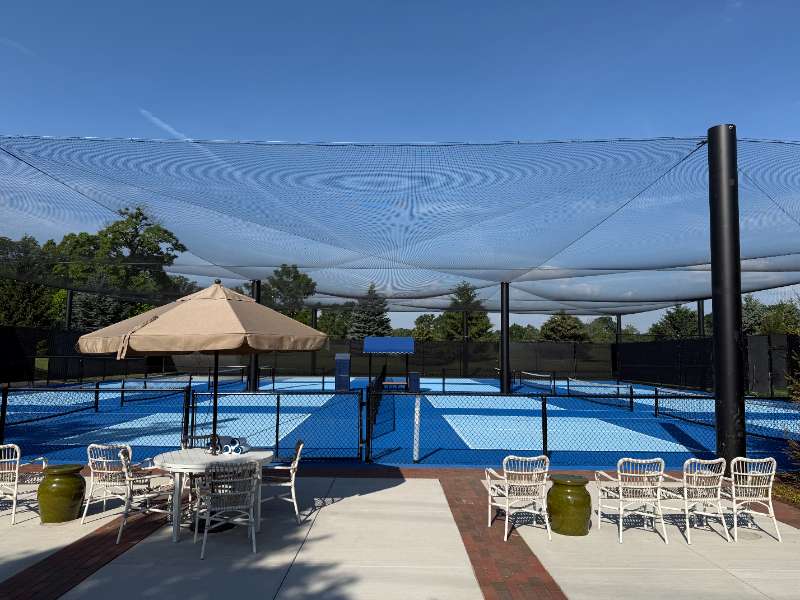
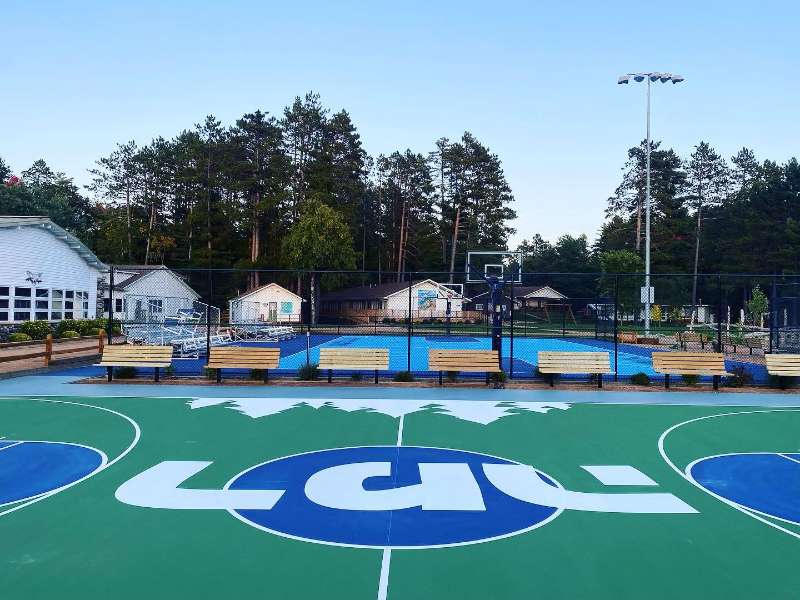
commercial
outdoor
pickleball
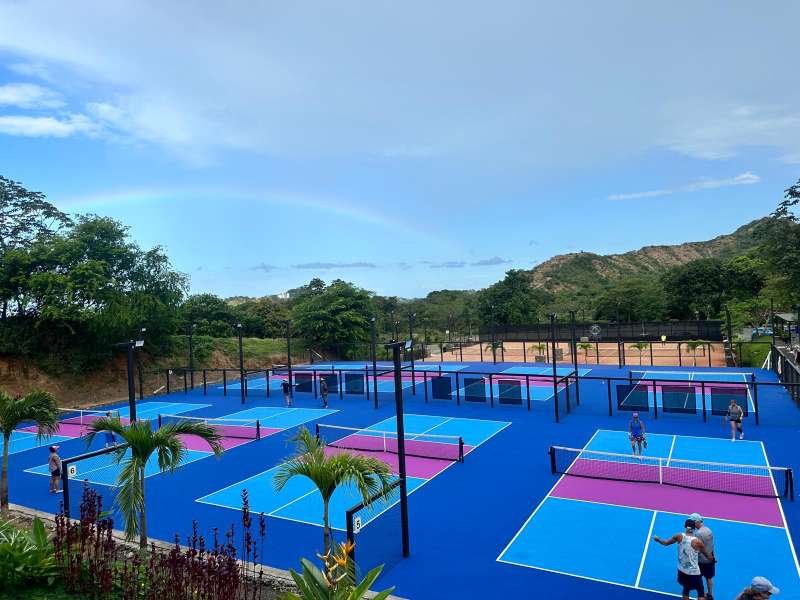
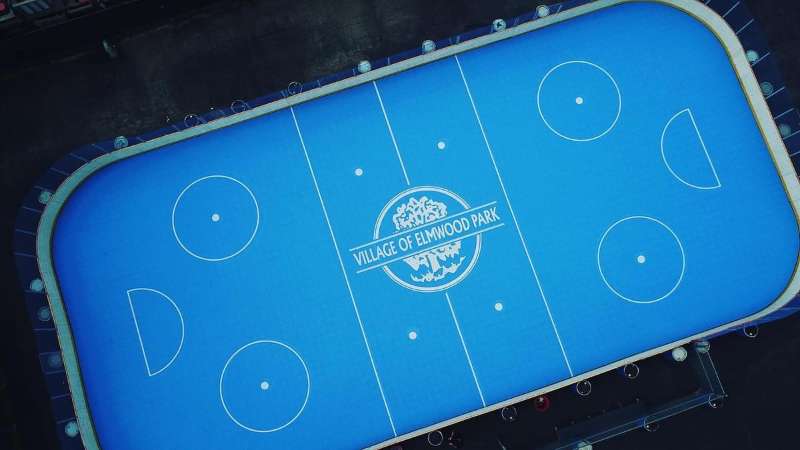
commercial
outdoor
pickleball
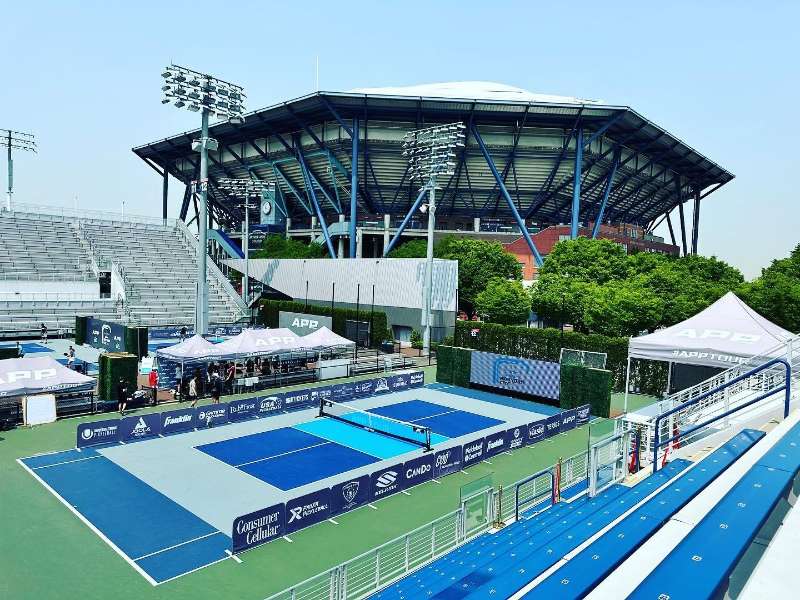
commercial
outdoor
pickleball
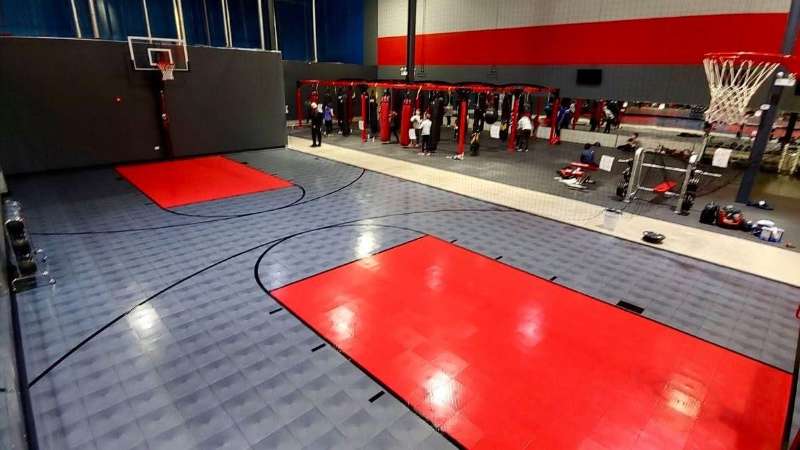
commercial
indoor
basketball
commercial
outdoor
other
commercial
indoor
basketball
commercial
indoor
pickleball
commercial
indoor
basketball
commercial
outdoor
pickleball
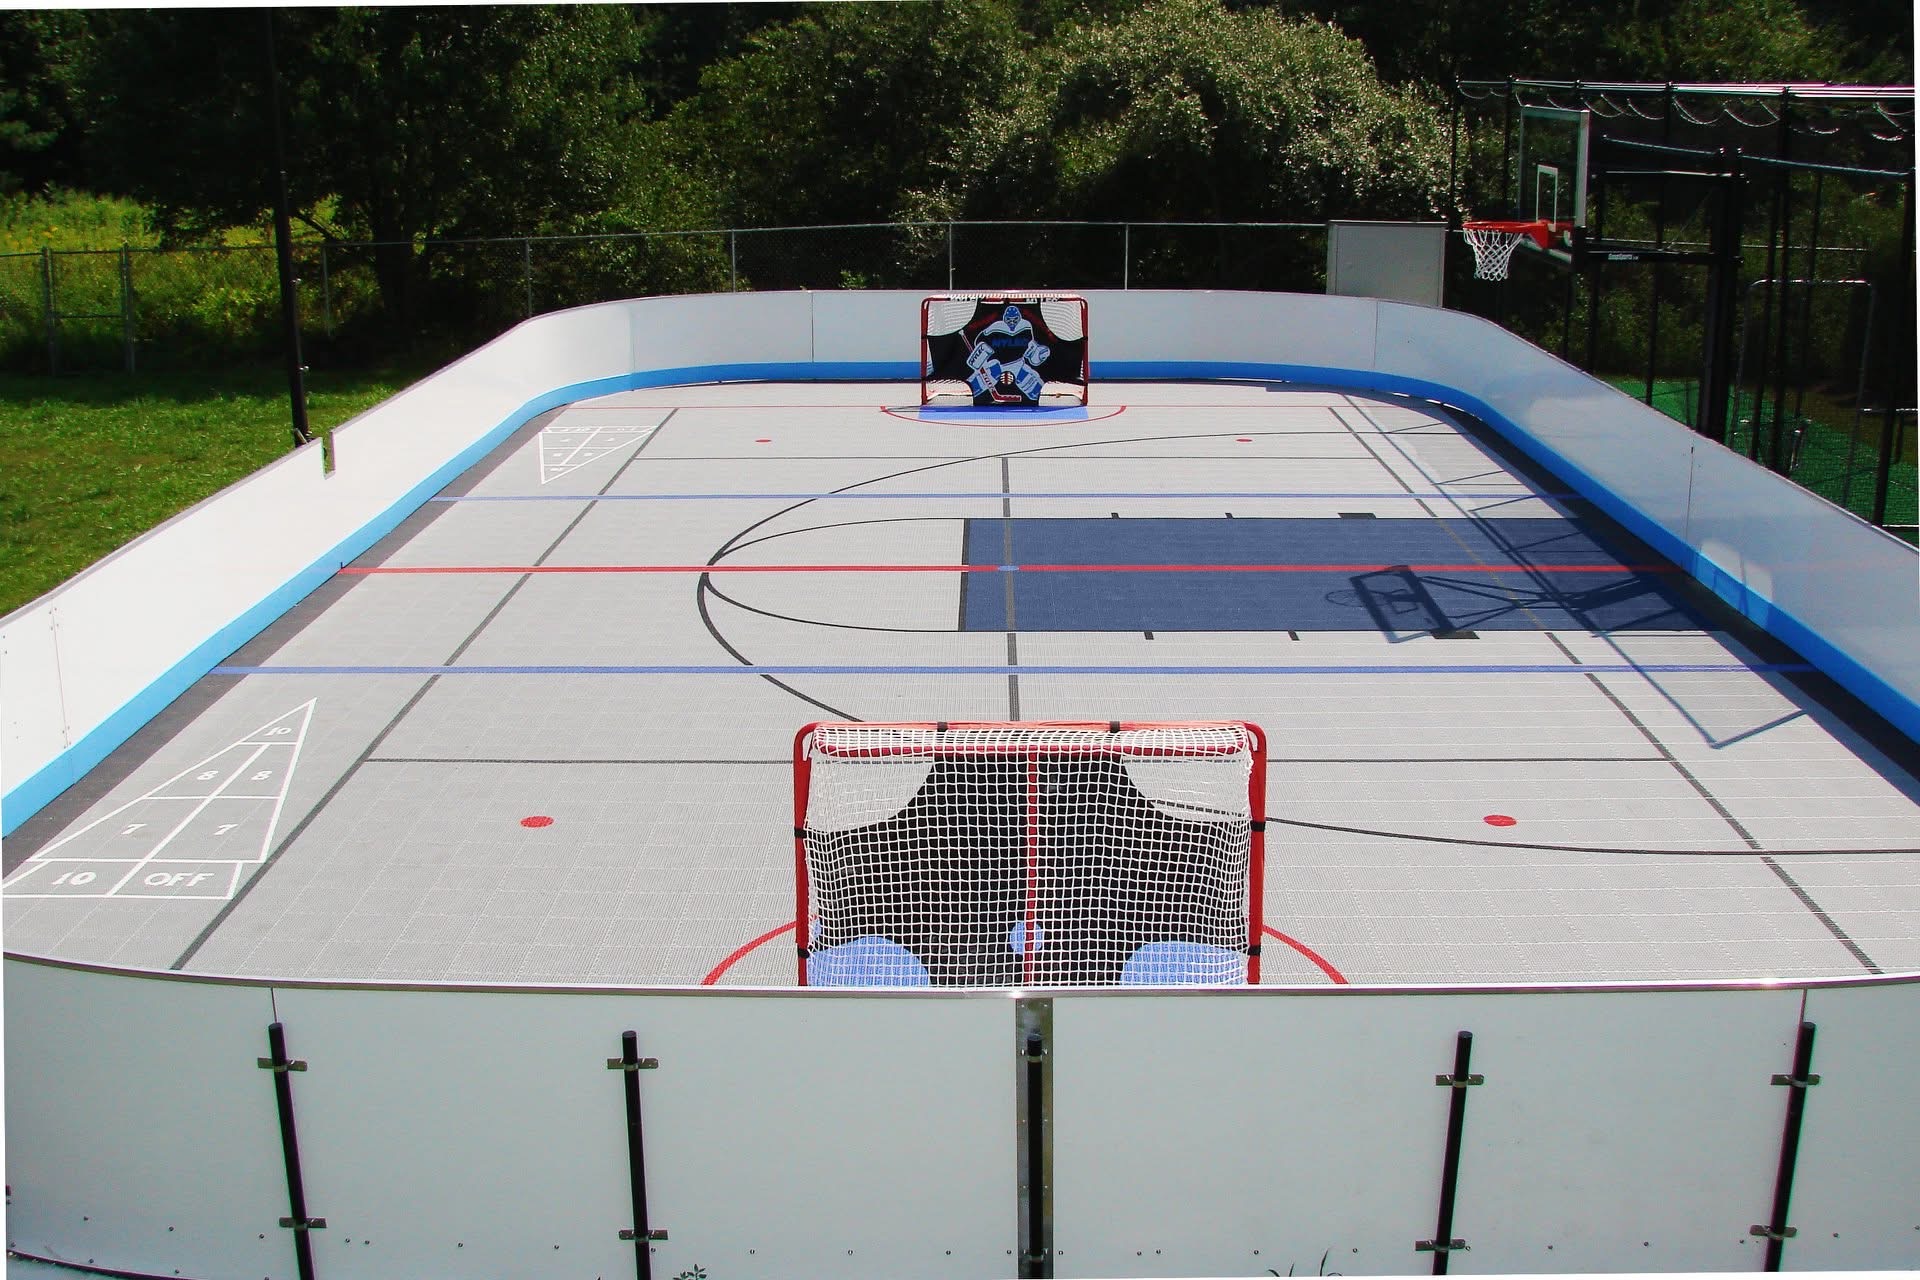
commercial
indoor
multisport
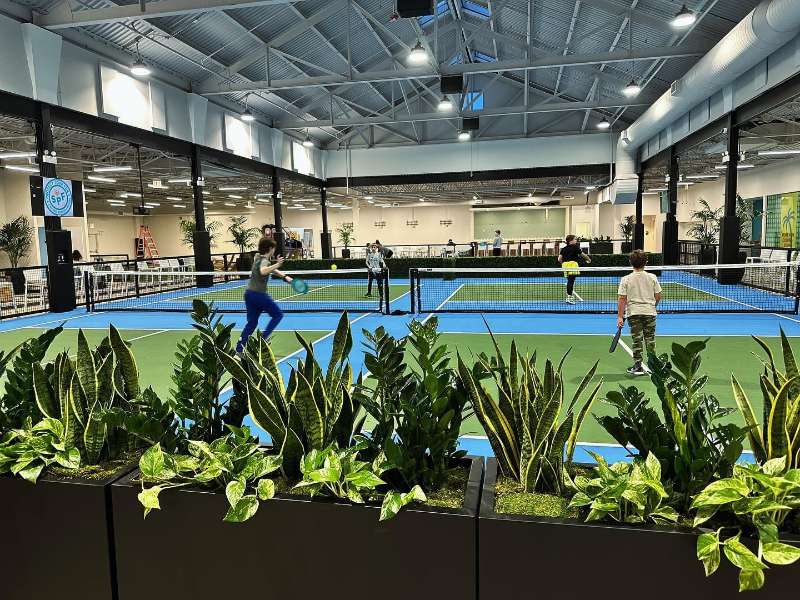
commercial
indoor
pickleball
commercial
outdoor
multisport
commercial
indoor
pickleball
commercial
outdoor
pickleball
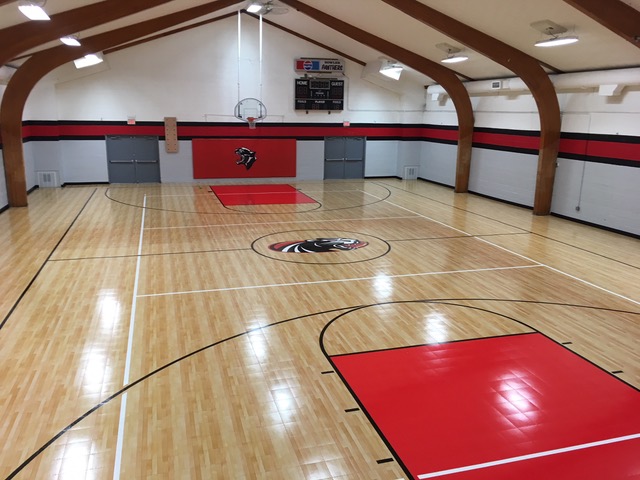
commercial
indoor
basketball
commercial
indoor
pickleball
residential
indoor
basketball
residential
indoor
multisport
residential
indoor
multisport
residential
indoor
multisport
residential
outdoor
multisport
residential
outdoor
tennis
residential
outdoor
tennis
residential
outdoor
soccer
commercial
indoor
soccer
commercial
indoor
other
commercial
indoor
other
residential
outdoor
multisport
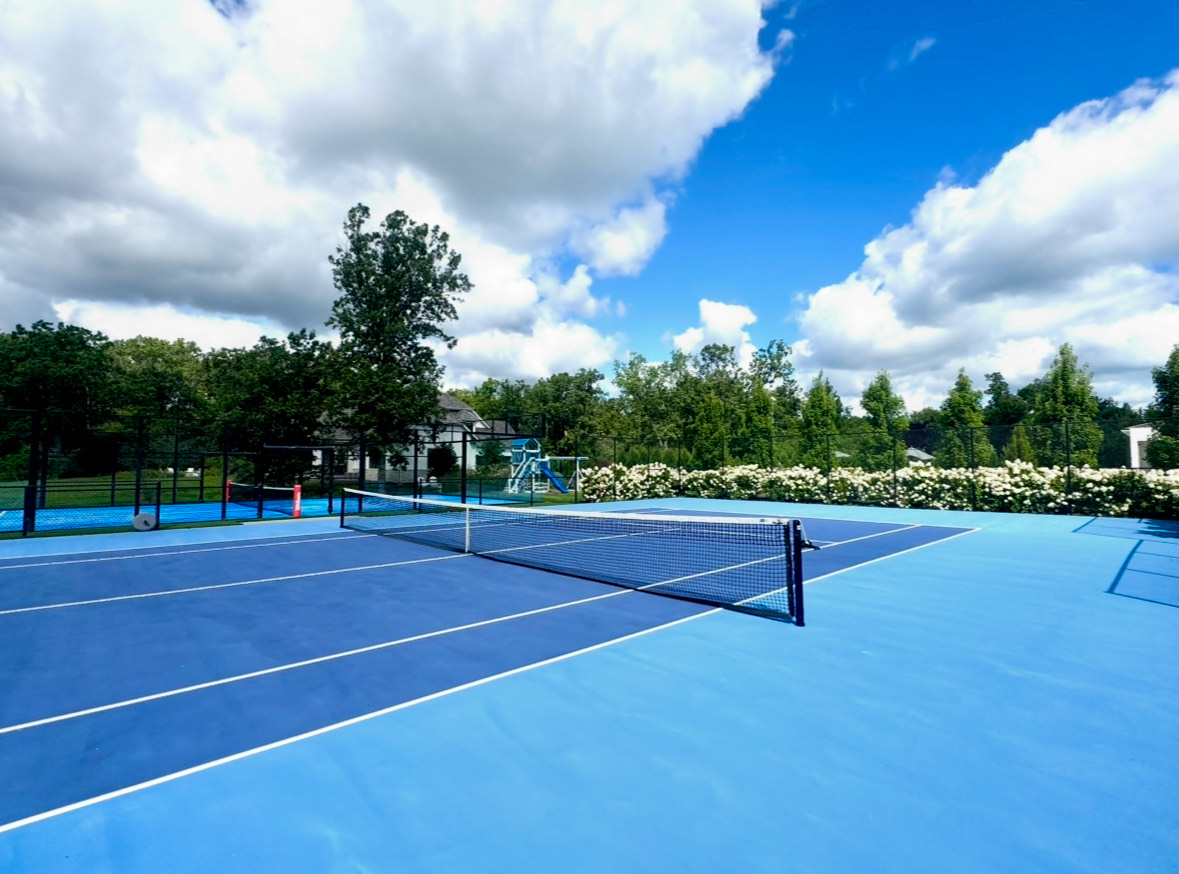
residential
outdoor
padel
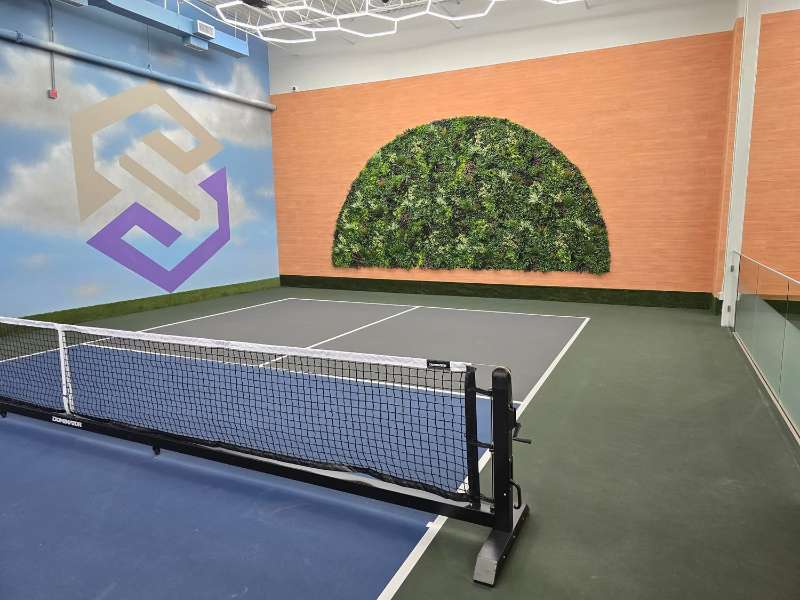
commercial
indoor
pickleball
commercial
outdoor
pickleball
residential
outdoor
other
commercial
indoor
multisport
Let's Play!
contact us
Give us a call
847-444-9832
and we’ll walk you through every step, from vision to victory.


.jpeg)
.JPG)
.jpeg)

(crop).jpg)
.jpeg)
.jpeg)
.jpeg)
(crop).jpeg)
.jpeg)
.jpeg)
.jpeg)
.jpeg)
.jpeg)
.jpeg)
.jpeg)
.jpeg)